LAMP(Linux,Apache,MoiraDB,PHP)環境を作成する方法
Posted in php, blog on November 4, 2020 by Henk Verlinde ‐ 3 min read

はじめに
1 から作成すると少し大変な LAMP 環境を作成したので、 備忘録として残しておきます。
環境
- CentOS 7
以下コマンドで Apache がインストールされているか確認します。
[user@123-45-67-89 ~]# httpd -v
bash: httpd: command not found
ない場合はインストールします。
[user@123-45-67-89 ~] # sudo yum install httpd
Loaded plugins: fastestmirror
Determining fastest mirrors
 * base: ty1.mirror.newmediaexpress.com
 * extras: ty1.mirror.newmediaexpress.com
 * updates: ty1.mirror.newmediaexpress.com
~~~~~~
~~~~~~
Complete!
Apache がインストールされたか確認します。
[user@123-45-67-89 ~]# httpd -v
Server version: Apache/2.4.6 (CentOS)
Server built:   Apr 24 2019 13:45:48
[user@123-45-67-89 ~]# service httpd status
Redirecting to /bin/systemctl status httpd.service
● httpd.service - The Apache HTTP Server
   Loaded: loaded (/usr/lib/systemd/system/httpd.service; disabled; vendor preset: disabled)
   Active: inactive (dead)
     Docs: man:httpd(8)
           man:apachectl(8)
動されていないようなら起動します。
起動されていないようなら起動する
[user@123-45-67-89 ~]# sudo service httpd start
Redirecting to /bin/systemctl start httpd.service
起動されたか確認します。
[user@123-45-67-89 ~]# service httpd status
● httpd.service - The Apache HTTP Server
   Loaded: loaded (/usr/lib/systemd/system/httpd.service; disabled; vendor preset: disabled)
   Active: active (running) since Fri 2019-05-17 02:28:43 UTC; 21s ago
     Docs: man:httpd(8)
           man:apachectl(8)
~~~~~~~
~~~~~~~
Hint: Some lines were ellipsized, use -l to show in full.
ついでにサーバ起動時に Apache も起動する設定を追加します。
[user@123-45-67-89 ~]# sudo systemctl enable httpd
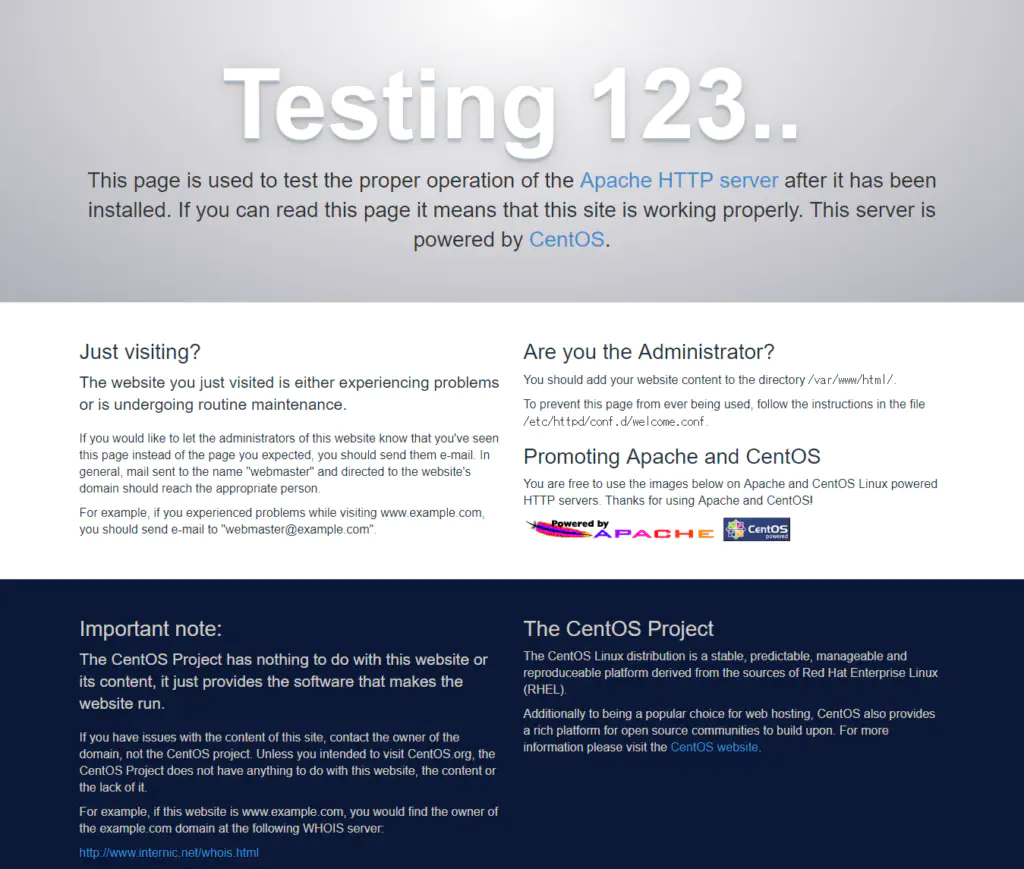
サーバ IP にアクセスし以下画面が表示されることを確認します。
以上の画面が表示されない場合は FireWall が邪魔している可能性があります。
以下のコマンドを実行し、Firewall が設定されているか確認します。
[user@123-45-67-89 ~]# sudo firewall-cmd --state
runnnig
【runnnig】と表示された場合、以下のコマンドたたいてください。
[user@123-45-67-89 ~]# sudo firewall-cmd --zone=public --add-service=http --permanent
success
[user@123-45-67-89 ~]# sudo firewall-cmd --reload
問題がなければもう一度アクセスしてみてください。
PHP をインストールする
CentOS 7 の標準の yum リポジトリでは PHP5.4 までしか提供されていません。最新の PHP バージョンをインストールしたい場合は以下の記事を参考にしてください。 [CentOS7 に PHP7 をインストールする]
PHP5.4 でも構わないという方は、ここで PHP のインストールを 以下コマンドを実行し PHP がインストールされていないか確認してください。
[user@123-45-67-89 ~]# php -v
bash: php: command not found
インストールされていなければ以下を実行し、PHP をインストールします。
[centos@ip-172-31-38-77 ~]$ sudo yum install php
Loaded plugins: fastestmirror
Loading mirror speeds from cached hostfile
 * base: ty1.mirror.newmediaexpress.com
 * extras: ty1.mirror.newmediaexpress.com
 * updates: ty1.mirror.newmediaexpress.com
~~~~~~~~
~~~~~~~~
Complete!
Apache を再起動します。
[user@123-45-67-89 ~]# service httpd restart
テストページを作成して表示させます。その前に httpd.conf を開きドキュメントルートを確認します。
[user@123-45-67-89 ~]# cd /etc/httpd/conf
[user@123-45-67-89 conf]# ls
httpd.conf  magic
[user@123-45-67-89 conf]# sudo vi httpd.conf
DocumentRoot を確認します。恐らくデフォルト で”/var/www/html”で設定されているかと思います。
# DocumentRoot: The directory out of which you will serve your
# documents. By default, all requests are taken from this directory, but
# symbolic links and aliases may be used to point to other locations.
#
DocumentRoot "/var/www/html"
DocumentRoot へ移動します。
[user@123-45-67-89 conf]# cd /var/www/html
[user@123-45-67-89 html]# sudo vi phpinfo.php
<!--phpinfo.php -->
<?php
phpinfo();
?>
上記ソースを配置できたら、【IP アドレス】/phpinfo.php でアクセスし、以下の画面が表示されることを確認してください。

これで PHP の設定は完了です。
MariaDB を設定する
[user@123-45-67-89 ~]# mysql --version
MariadDB をインストールする。
[user@123-45-67-89 ~]# sudo yum install mariadb mariadb-server
Loaded plugins: fastestmirror
Loading mirror speeds from cached hostfile
 * base: ty1.mirror.newmediaexpress.com
 * extras: ty1.mirror.newmediaexpress.com
 * updates: ty1.mirror.newmediaexpress.com
~~~~~~~~~
~~~~~~~~~
Complete!
MariaDB がインストールされたか確認する。
[user@123-45-67-89 ~]# mysql --version
mysql  Ver 15.1 Distrib 5.5.60-MariaDB, for Linux (x86_64) using readline 5.1
MariaDB が起動しているか確認する。
[user@123-45-67-89 ~]# service mariadb status
Redirecting to /bin/systemctl status mariadb.service
● mariadb.service - MariaDB database server
   Loaded: loaded (/usr/lib/systemd/system/mariadb.service; disabled; vendor preset: disabled)
   Active: inactive (dead)
恐らく【Active: incative(dead)】が表示され、MariaDB が起動できていないことを確認できると思います。以下コマンドを実行し MariaDB を起動します。
[user@123-45-67-89 ~]# sudo service mariadb start
Redirecting to /bin/systemctl start mariadb.service
ではもう一度確認します。
[user@123-45-67-89 ~]# service mariadb status
Redirecting to /bin/systemctl status mariadb.service
● mariadb.service - MariaDB database server
   Loaded: loaded (/usr/lib/systemd/system/mariadb.service; disabled; vendor preset: disabled)
~~~~~~~~
~~~~~~~~
Hint: Some lines were ellipsized, use -l to show in full.
これで MoiraDB をインストールできました。きちんと動作するか確認するため、テーブルを作ってみます。
以下コマンドを実行し sql サーバーにログインしてください。パスワードを求められますが、そのまま Enter を押してください。
[user@123-45-67-89 ~]# mysql -u root -p
Enter password:【Enterキーを押してください】
DB を作成します。
MariaDB [(none)]>create database db_name;
Query OK, 1 row affected (0.00 sec)
作成されたか確認します。
MariaDB [(none)]>show databases;
+--------------------+
| Database           |
+--------------------+
| information_schema |
| db_name            |
| mysql              |
| performance_schema |
+--------------------+
4 rows in set (0.00 sec)
ここまで問題なければ LAMP 環境が出来上がります。 以上。お疲れ様でした。


