Amazon EC2 で vue.js(nuxt) 環境構築してみた
Posted in Vue, blog on December 30, 2020 by Henk Verlinde ‐ 2 min read

初めに
Amazon EC2 にて nuxt 環境を構築したときの手順を載せておきます。
Bolume Type は Amazon Linux 2 AMI (HVM), SSD Volume Type(無料枠) です。
nginx インストール
サーバーアプリケーションとして nginx をインストールします。
- yum install の有効化
sudo amazon-linux-extras enable nginx1 - nginx のインストール
sudo yum -y install nginx - nginx の起動
sudo systemctl start nginx.service - OS 再起動時に nginx を起動する設定を追加 sudo sudo systemctl enable nginx
- セキュリティーグループで http を許可する。

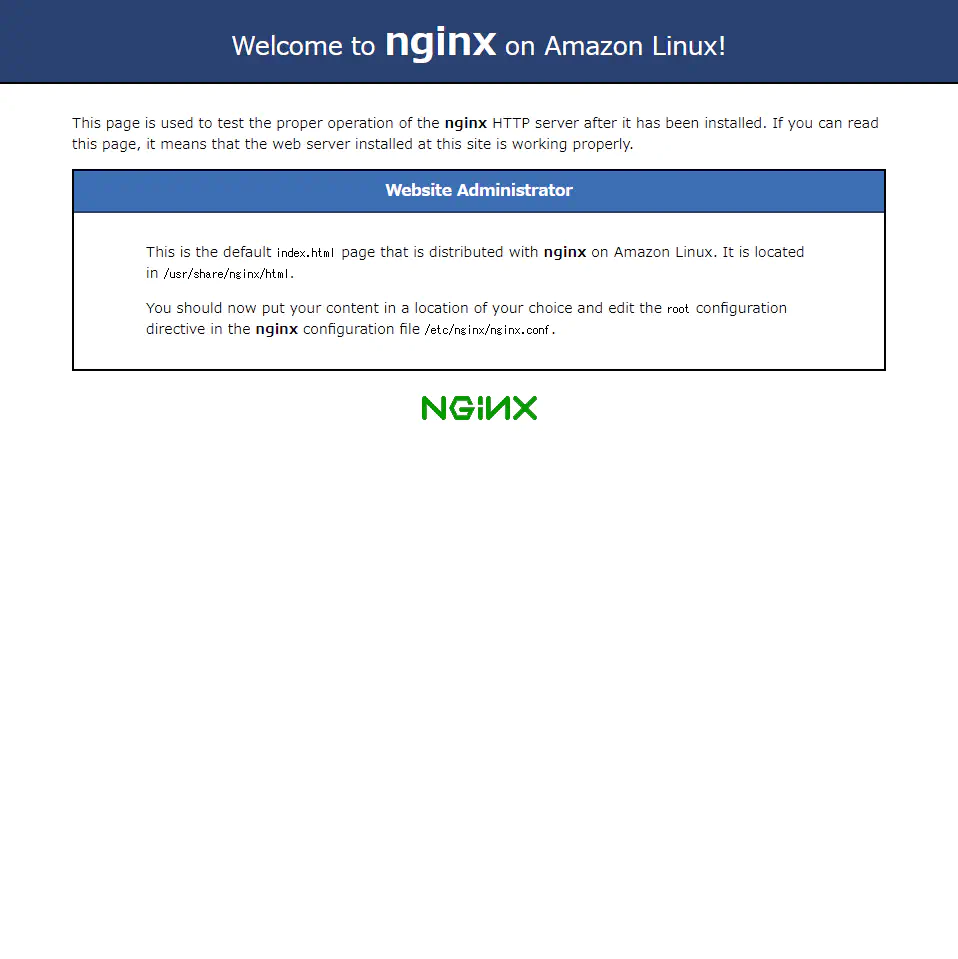
ここまで問題なければ以下が表示されます。
Git インストール
Git をインストールします。nuxt プロジェクトをサーバーに置くための方法として無難かと思います。他方法でやりたい人はお好みで nuxt プロジェクトを取り込んでください。npx を使う方法でもいいのかと思います。
- 下記コマンドを実行して yum を最新の状態にする。
sudo yum update - 下記コマンドを実行して git のパッケージをインストールする。
sudo yum install git - 下記コマンドを実行して git のインストールを確認する。
git version
nvm(node.js) インストール
- yum コマンドでシステムのアップデート
sudo yum update - GitHub から nvm をクローンします
git clone https://github.com/creationix/nvm.git ~/.nvm - nvm へパスの通す
source ~/.nvm/nvm.sh - nvm コマンドへのパスの設定
このままではログアウトすると、nvm へのパスがリセットされ nvm コマンドが使用できなくなり、その度に、パスを設定しなおさなくてはなりません。そこで、Linux にログインしたときに実行される.bash_profile に設定を書き込みます。 ユーザのホームディレクトリにある .bash_profile (/home/ec2-user/.bash_profile) を vi エディタで開きます。 - 以下テキスト追加
nvm
if [[ -s ~/.nvm/nvm.sh ]] ; then
  source ~/.nvm/nvm.sh ;
fi
- インストール可能な Node.js のバージョン一覧を表示します
nvm ls-remote - node をインストール
ここでは最新をインストールします。 nvm install v14.10.1
nginx のルートを Nextjs アプリケーションが稼働するローカルサーバーに設定します
- /etc/nginx/nginx.conf を編集し、proxy_pass に http://localhost:3000; を設定する
user nginx;
worker_processes auto;
error_log /var/log/nginx/error.log;
pid /run/nginx.pid;
# Load dynamic modules. See /usr/share/nginx/README.dynamic.
include /usr/share/nginx/modules/*.conf;

events {
  worker_connections 1024;
}

http {
  log_format main '$remote\_addr - $remote\_user \[$time_local\] "$request" '
                      '$status $body\_bytes\_sent "$http_referer" '
  '"$http\_user\_agent" "$http_x_forwarded_for"';

  access\_log  /var/log/nginx/access.log  main;

  sendfile            on;
  tcp\_nopush          on;
  tcp\_nodelay         on;
  keepalive\_timeout   65;
  types\_hash\_max\_size 2048;

  include             /etc/nginx/mime.types;
  default\_type        application/octet-stream;

  # Load modular configuration files from the /etc/nginx/conf.d directory.
  # See http://nginx.org/en/docs/ngx\_core\_module.html#include
  # for more information.
  include /etc/nginx/conf.d/\*.conf;
  server {
    listen       80 default\_server;
    listen       \[::\]:80 default\_server;
    server\_name  \_;
    root /usr/share/nginx/html;

    # Load configuration files for the default server block.
    include /etc/nginx/default.d/\*.conf;

    location / {
*     proxy\_pass http://localhost:3000;
*     proxy\_http\_version 1.1;
*     proxy\_set\_header Upgrade $http\_upgrade;
*     proxy\_set\_header Connection 'upgrade';
*     proxy\_set\_header Host $host;
*     proxy\_cache\_bypass $http\_upgrade;
    }

    error\_page 404 /404.html;
      location = /40x.html {
    }
    error\_page 500 502 503 504 /50x.html;
      location = /50x.html {
    }
  }
}
- nginx の再起動
sudo systemctl start nginx.service
プロジェクトを配置
作成済みの nuxt.js を/home/ec2-user に配置する
- 移動
cd /home/ec2-user/
- git クーロン
git clone 'nuxt-project'
- npm install
npm install
- nuxt start
npm run start
終わりに
これで ec2 のグローバル ip にアクセスすると表示されたかと思います。 以上です。


