I tried building a vue.js (nuxt) environment on Amazon EC2
Posted in Vue, blog on December 30, 2020 by Henk Verlinde ‐ 3 min read

at first
Here are the steps for building the nuxt environment on Amazon EC2. Volume Type is Amazon Linux 2 AMI (HVM), SSD Volume Type (free tier).
Install nginx
Install nginx as a server application.
- Enable yum install sudo amazon-linux-extras enable nginx1
- Install nginx sudo yum -y install nginx
- Start nginx sudo systemctl start nginx.service
- Added setting to start nginx at OS reboot sudo sudo systemctl enable nginx
- Allow http in security group.

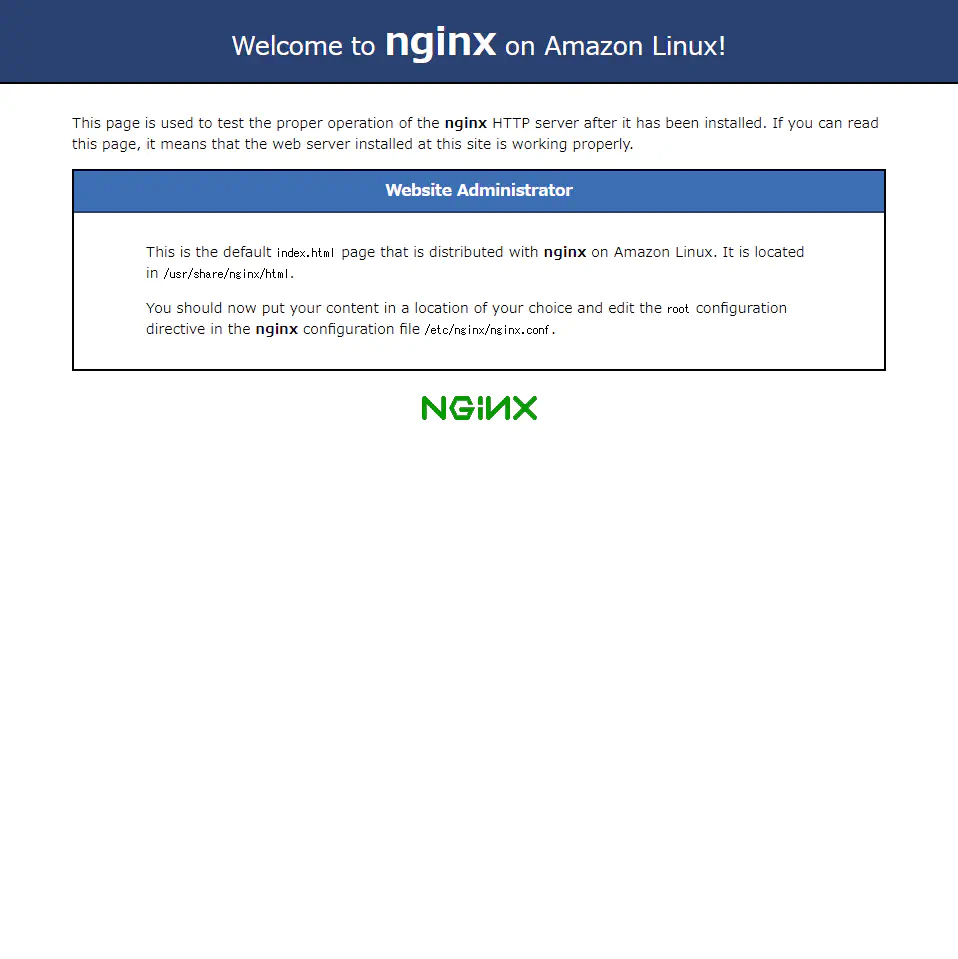
If there is no problem so far, the following will be displayed.

Git installation
Install Git. I think it’s a safe way to put the nuxt project on the server. If you want to do it in another way, import the nuxt project if you like. I think it’s okay to use npx.
- Execute the following command to update yum. sudo yum update
- Execute the following command to install the git package. sudo yum install git
- Execute the following command to check the git installation. git version
install nvm(node.js)
- Update system with yum command sudo yum update
- Clone nvm from GitHub git clone https://github.com/creationix/nvm.git ~/.nvm
- Pass the path to nvm source ~/.nvm/nvm.sh
- Setting the path to the nvm command If you log out as it is, the path to nvm will be reset and you will not be able to use the nvm command, and you will have to set the path again each time. So write the settings to .bash_profile which is executed when you log in to Linux. Open .bash_profile in user’s home directory (/home/ec2-user/.bash_profile) with vi editor.
- Add the following text
nvm
if [[ -s ~/.nvm/nvm.sh ]] ; then
  source ~/.nvm/nvm.sh ;
fi
- Display a list of versions of Node.js that can be installed nvm ls-remote
- Install node Install the latest here. nvm install v14.10.1
set nginx route to local server running Nextjs application
- Edit /etc/nginx/nginx.conf and set proxy_pass to http://localhost:3000;
user nginx;
worker_processes auto;
error_log /var/log/nginx/error.log;
pid /run/nginx.pid;
# Load dynamic modules.
include /usr/share/nginx/modules/*.conf;

events {
  worker_connections 1024;
}

http {
  log_format main '$remote\_addr - $remote\_user \[$time_local\] "$request" '
                      '$status $body\_bytes\_sent "$http_referer"'
  '"$http\_user\_agent" "$http_x_forwarded_for"';

  access\_log /var/log/nginx/access.log main;

  sendfile on;
  tcp\_no push on;
  tcp\_nodelay on;
  keepalive\_timeout 65;
  types\_hash\_max\_size 2048;

  include /etc/nginx/mime.types;
  default\_type application/octet-stream;

  # Load modular configuration files from the /etc/nginx/conf.d directory.
  # See http://nginx.org/en/docs/ngx\_core\_module.html#include
  # for more information.
  include /etc/nginx/conf.d/\*.conf;
  server {
    listen 80 default\_server;
    listen \[::\]:80 default\_server;
    server\_name\_;
    root /usr/share/nginx/html;

    # Load configuration files for the default server block.
    include /etc/nginx/default.d/\*.conf;

    location / {
* proxy\_pass http://localhost:3000;
* proxy\_http\_version 1.1;
* proxy\_set\_header Upgrade $http\_upgrade;
* proxy\_set\_header Connection 'upgrade';
* proxy\_set\_header Host $host;
* proxy\_cache\_bypass $http\_upgrade;
    }

    error\_page 404 /404.html;
      location = /40x.html {
    }
    error\_page 500 502 503 504 /50x.html;
      location = /50x.html {
    }
  }
}
- Restart nginx
sudo systemctl start nginx.service
deploy project
Place the created nuxt.js in /home/ec2-user
- Move
cd /home/ec2-user/
- git cron
git clone 'nuxt-project'
- npm install
npm install
- nuxt start
npm run start
at the end
I think that it was displayed when accessing the global ip of ec2 with this. that’s all.
